
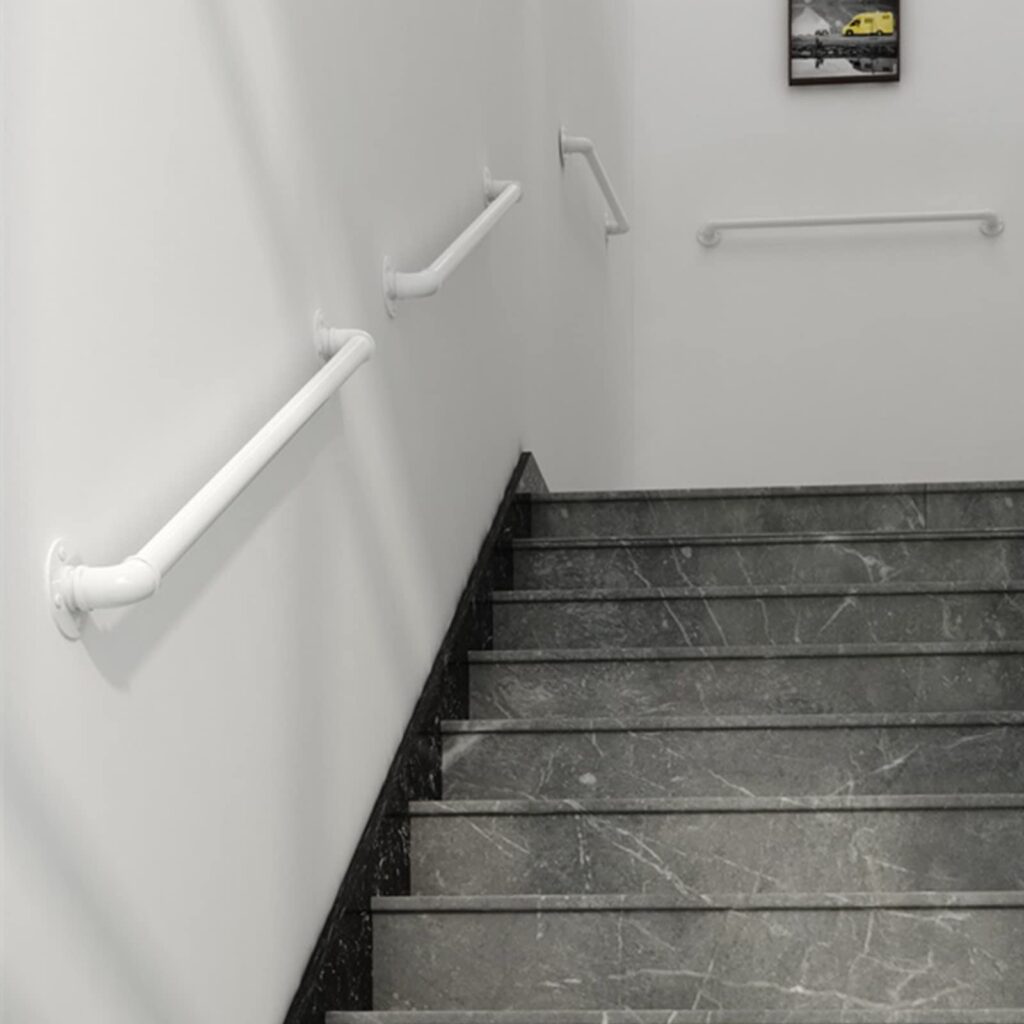
Can Stairlifts Be Fitted to Any Stairs? Straight, Curved & Narrow Explained
January 16, 2026
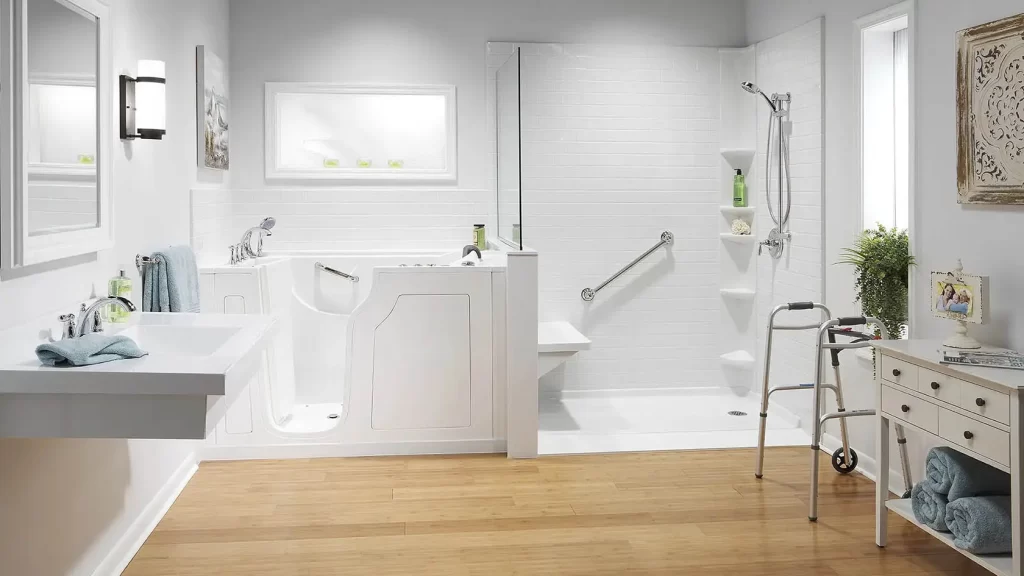
Making Your Bathroom Handicap Accessible: Costs, Layouts & Must-Have Upgrades
January 30, 2026
If you’re researching “installing a grab bar in a fiberglass shower,” you’re already making a smart move. A well-placed, well-anchored grab bar reduces fall risk and makes daily routines less stressful. Fiberglass surrounds, however, add a twist: they’re thin, slightly flexible, and easy to crack if you use the wrong fasteners or mounting method. This guide walks you through practical steps, helpful checks, and when to call the pros at CAPS Remodeling.
(When you’re ready, see shower grab bars for fiberglass showers for options and professional installation support.)
Why Fiberglass Needs a Different Approach
Unlike tile over backer board or solid-surface panels, fiberglass has a gelcoat layer and a hollow feel between wall studs. That means:
- You can’t rely on the shell alone for strength
- Over-tightening can spider-crack the gelcoat
- The safest installs either hit wood framing or use specialty anchors engineered for hollow walls behind fiberglass.
Quick Pre-Check: Is Your Shower Ready?
Before you touch a drill, run through this short list:
- Wall sound and thickness: Tap the surface—hollow is typical, but listen for a consistent tone. If you hear a dead spot, there may be a reinforcement panel behind the fiberglass (good news).
- Studs or blocking: A stud finder designed for a deep scan can locate studs through fiberglass. If your home was remodeled for accessibility, there might be hidden barriers.
- Moisture risk: All penetrations must be sealed to prevent water from entering the wall cavity.
- Body mechanics: Stand as if you’re entering/exiting or turning under the shower. Where does your hand naturally reach? That’s your starting point for placement.
Recommended Grab Bar Specs
For most residential showers:
- Diameter: 1¼”–1½” for a comfortable grip
- Finish/texture: Brushed or knurled for slip-resistance
- Construction: Stainless steel with concealed flanges
- Load rating: Look for bars and anchors rated to at least 250–300 lbs when installed per manufacturer instructions
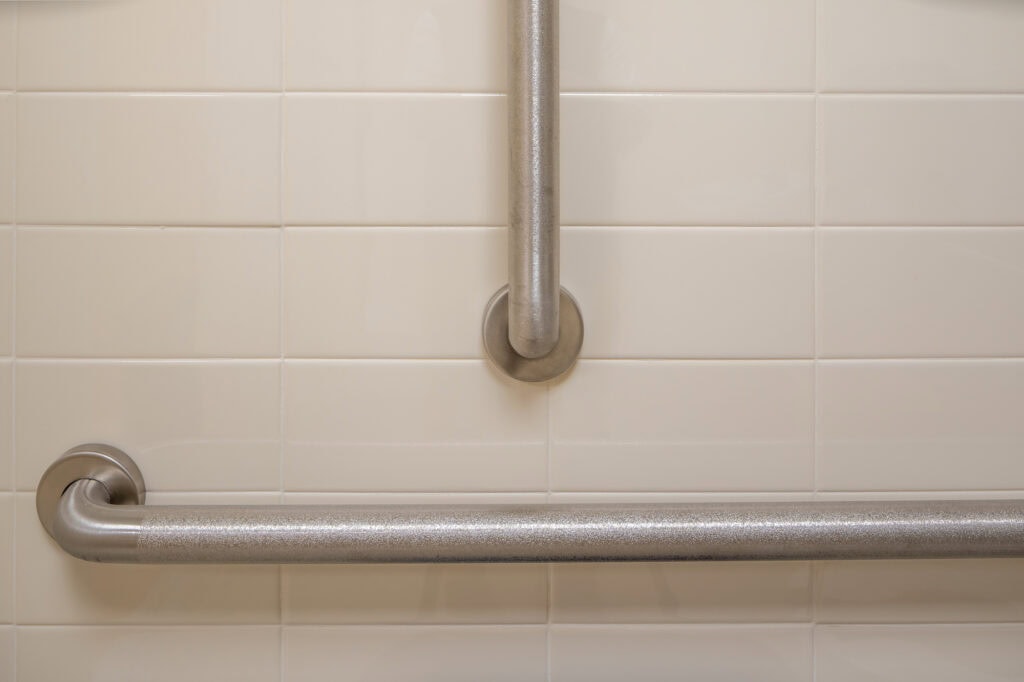
Ideal Placement and Heights
There isn’t one “correct” height for everyone, but these guidelines help:
- Vertical entry bar: Near the shower opening, mount so the center of the bar is roughly 34″–48″ from the floor (adjust for your reach).
- Angled bar (30–45°): Along the long wall, starting around 30″–36″ at the low end and rising toward 36″–42″. Angled bars are great for both entry and balance while turning.
- Horizontal balance bar: 33″–36″ AFF (above finished floor) works for many adults.
If you can align at least one flange over a stud or blocking, do it. If not, choose approved hollow-wall anchors compatible with fiberglass.
The Big Question: Studs vs. Specialty Anchors
Best case: Fasten into studs or solid blocking with stainless screws.
Real-world case (common with fiberglass surrounds): Use toggle-style or expansion anchors specifically rated for grab bars in hollow walls. These distribute load across the back of the panel and cavity, reducing point stress and preventing gelcoat damage.
Avoid generic plastic anchors or drywall-only hardware. They’re not designed for dynamic loads in wet environments.
Tools & Materials You’ll Want
- Stud finder (deep scan) and non-marring painter’s tape
- Level and pencil
- Drill/driver with a sharp step bit or fiberglass-safe bit (to reduce chipping)
- Stainless mounting screws (if into studs) or manufacturer-approved hollow-wall anchors
- High-quality silicone for sealing penetrations
- Safety glasses, work gloves, and a drop cloth
Step-by-Step: Installing a Grab Bar in a Fiberglass Shower
1) Map the grip points
Stand where you need support—entry, rinse, and exit positions. Mark potential bar locations with painter’s tape. Check for door swings and shower heads.
2) Find framing
Scan for studs. If you catch one, mark its centerline. Even catching one side with solid wood increases strength and reduces reliance on hollow anchors.
3) Dry-fit and mark flanges
Hold the bar against the taped outline. Use a level to ensure the surface is horizontal, or confirm your preferred angle. Mark the flange screw holes with a pencil.
4) Protect the gelcoat
Apply painter’s tape over each marked hole to reduce chipping. Start with a small pilot and step up to the final size using a step bit. Keep speed moderate—too fast heats the gelcoat.
5) Drill clean, controlled holes
Stay perpendicular to the wall. If you’re using toggle or expansion anchors, follow the required diameter per the anchor instructions—precision matters here.
6) Seal as you go
Run a thin bead of 100% silicone in each hole before inserting anchors or screws. This helps keep moisture out and reduces vibration.
7) Set anchors or fasten to the stud
- Into studs: Stainless screws through the flange holes into the stud, snug but not over-tight.
- Hollow-wall anchors: Load the anchor per instructions (toggle, expansion, or proprietary), seat the flange, and tighten evenly.
8) Final tighten and test
Tighten screws in a star pattern across the flange to distribute pressure. Wipe any squeeze-out silicone. Test by pulling with both hands at different angles. It should feel rock-solid—no flexing.
9) Finish caps and cure
Snap on the decorative covers. Allow silicone to cure per the label before using the shower.
For product choices and professional installation help, see shower grab bars for fiberglass showers.
Common Mistakes to Avoid
- Over-tightening: This can crush the fiberglass and cause hairline cracks. Tighten until firm, not forced.
- Wrong anchors: Drywall anchors aren’t rated for wet, dynamic loads. Choose anchors specifically stated for grab bars and hollow walls.
- Skipping sealant: Unsealed penetrations invite water into the wall cavity—seal every hole.
- Poor placement: If you can’t naturally reach the bar while stepping in or turning, it won’t get used when it matters.
Maintenance and Safety Checks
- Monthly quick check: Grasp the bar and gently load it. If you feel movement, address it immediately.
- Re-seal if needed: If a flange shows gaps or the bathroom has been recaulked, renew the silicone.
- Clean the grip: Soap film reduces friction. Wipe with a non-abrasive cleaner to keep the surface grippy.
When to Call CAPS Remodeling
DIY is possible, but bathrooms are tight spaces with slippery surfaces—safety matters. Call CAPS Remodeling if:
- You can’t confirm studs or blocking
- You’re unsure which hollow-wall anchors are rated for your surround
- You want multiple bars (vertical entry plus an angled balance bar)
- You’re pairing grab bars with other safety upgrades like a handheld shower, fold-down seat, or a low-threshold conversion
Our team installs bars that look clean, feel solid, and are positioned for your exact reach and routines.
Pair Grab Bars with Smart Upgrades
- Handheld shower on a slide bar: Easier rinsing while steadying yourself
- Non-slip flooring or mats: Extra traction during entry/exit
- Lighting improvements: Better visibility reduces missteps
- Shower seat or fold-down bench: Rest while bathing without losing balance
Quick Planning Checklist
- Target locations (entry, turn, rinse)
- Heights/angles marked with tape
- Stud/ blocking verification
- Correct anchors for fiberglass
- Silicone sealant on every penetration
- Final load test before first use
FAQs
1) Can I mount a grab bar anywhere on a fiberglass wall?
You can mount in many locations, but aim for studs or use anchors rated for hollow walls behind fiberglass. Avoid spots that feel unusually flimsy or highly curved.
2) Will drilling crack my fiberglass shower?
Not if you use the right bit, moderate speed, painter’s tape over the hole, and avoid over-tightening. A step bit helps produce clean openings through gelcoat.
3) What’s better—vertical, horizontal, or angled bars?
Choose based on the task. Vertical aids entry, horizontal supports balance, and angled bars are well-suited to combined movements. Many showers use a mix.
4) Do suction-cup grab bars work on fiberglass?
Suction handles are temporary aids and can lose grip with moisture or texture. For true support, install a permanently mounted bar with proper anchors.
5) How many grab bars should I install?
Most fiberglass showers benefit from at least two: one near the entrance for stepping in and another along the long wall for balance. Add a third if you sit or need extra assistance.
Introducing Kevin Olrich, Owner of CAPS Remodeling. As a trusted expert in the field of barrier free remodeling Kevin brings a compassionate approach to create safer, more comfortable, and independent living conditions for the elderly and disabled throughout the State of Michigan. His leadership and experience is at the core of how CAPS provides the best solutions to meet the unique needs of our customers and medical professionals.


